Step 1: Select The Lasso Tool
Start by drawing a selection around the teeth. Select the Lasso Tool from the Toolbar:

Selecting the Lasso Tool.
Step 2: Draw A Selection Around The Teeth
If you’re working on a photo with two or more people in it, as I am here, you may be tempted to select and whiten everyone’s teeth at once. But the problem is, everyone’s teeth are different and usually need different amounts of whitening. You’ll get better results by whitening one person’s teeth at a time. I’ll start with the man on the left.
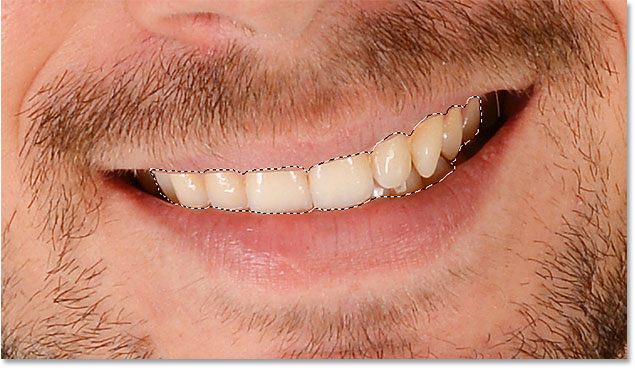
Draw a selection around the teeth. Don’t worry if it’s not the most accurate selection because we can easily clean it up later. Just trace around the teeth, staying as close to the edges as possible:

Drawing a selection outline around the teeth with the Lasso Tool.
Step 3: Add A Hue/Saturation Adjustment Layer
Click the New Fill or Adjustment Layer icon at the bottom of the Layers panel:

Clicking the New Fill or Adjustment Layer icon.
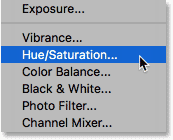
Choose Hue/Saturation from the list:

Selecting a Hue/Saturation adjustment layer.
A Hue/Saturation adjustment layer appears above the Background layer:

